Installation steps

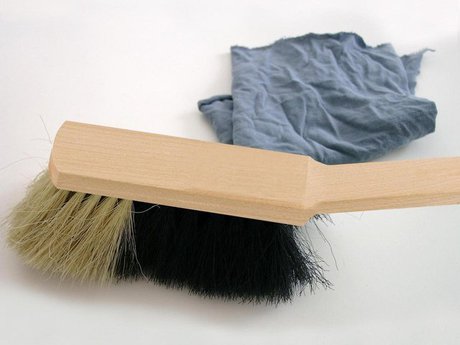
1. Clean the subsurface
Remove any sharp-edged or pointy objects (e.g. nails) that protrude from the sheathing. Brush off subsurfaces; if necessary, clean with a vacuum cleaner and wipe down.
1. Clean the subsurface
Remove any sharp-edged or pointy objects (e.g. nails) that protrude from the sheathing. Brush off subsurfaces; if necessary, clean with a vacuum cleaner and wipe down.

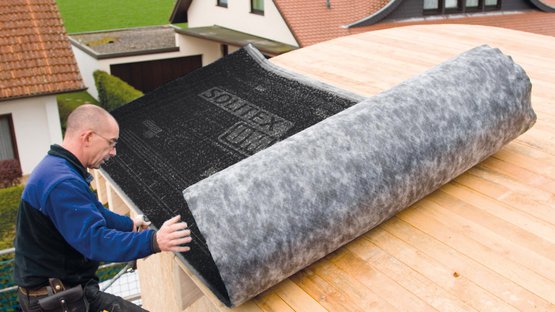
2. Roll out the membrane
Roll out and align the membrane parallel to the eave with the fibrous layer facing upwards. Install the membrane leaving an additional 4 cm (1⅝″) overlap at adjacent building structures so that a windtight bond can be applied here subsequently.
2. Roll out the membrane
Roll out and align the membrane parallel to the eave with the fibrous layer facing upwards. Install the membrane leaving an additional 4 cm (1⅝″) overlap at adjacent building structures so that a windtight bond can be applied here subsequently.

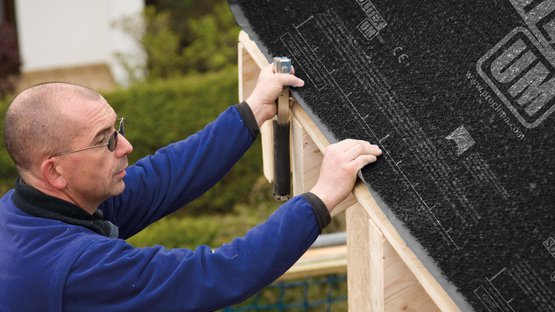
3. Align
Align the membrane so that it is straight.
3. Align
Align the membrane so that it is straight.

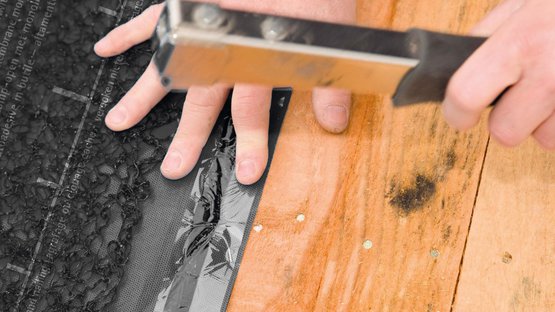
4. Fasten the membrane
Fasten the membrane using galvanised staples that are at least 10 mm (⅜″) wide by 8 mm (⁵⁄₁₆″) long at intervals of 10-15 cm (4″-6″) in the overlap area. To improve protection against the penetration of water during the construction phase, apply staples between the self-adhesive strips and the outer edge of the membrane.

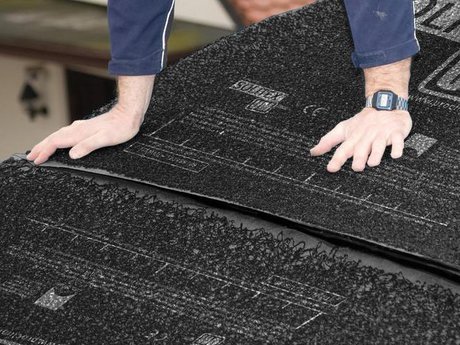
5. Overlap the membranes
Roll out the second membrane, align it and affix it in a waterproof and overlapping manner. The 3D fibrous layer stops short of the overlap area, thus defining the width of the overlap.
5. Overlap the membranes
Roll out the second membrane, align it and affix it in a waterproof and overlapping manner. The 3D fibrous layer stops short of the overlap area, thus defining the width of the overlap.

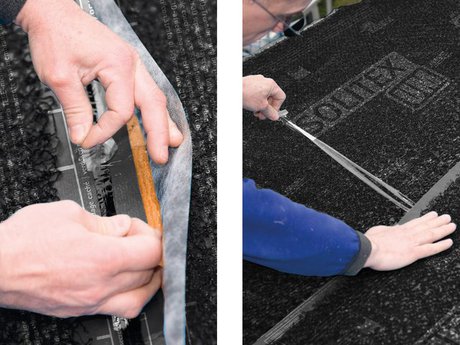
6. Stick the overlap
Clean the subsurface (dry and free of dust, silicone and grease) and carry out an adhesion test, if necessary. Lift up the second membrane, remove the release film and gradually stick the membranes in place using the integrated self-adhesive strips, ensuring that there are no folds or tension. Rub the adhesive joint firmly.

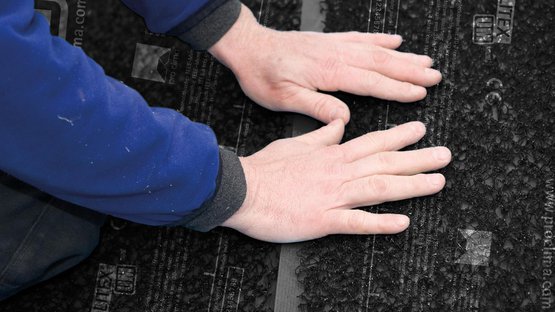
7. Rub firmly to secure the adhesive bond
Rub the adhesive joint firmly.
7. Rub firmly to secure the adhesive bond
Rub the adhesive joint firmly.

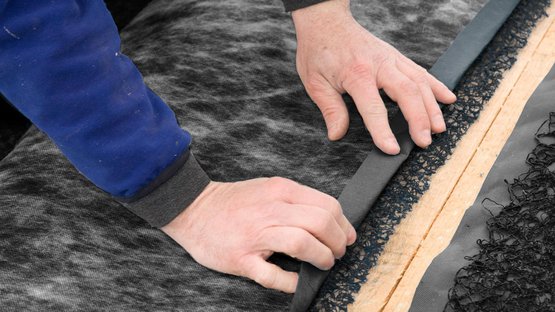
8a. End joint: Remove the fibrous layer
Remove a width of approx. 10 cm (4″) of 3D fibrous layer from the lower membrane.
8a. End joint: Remove the fibrous layer
Remove a width of approx. 10 cm (4″) of 3D fibrous layer from the lower membrane.

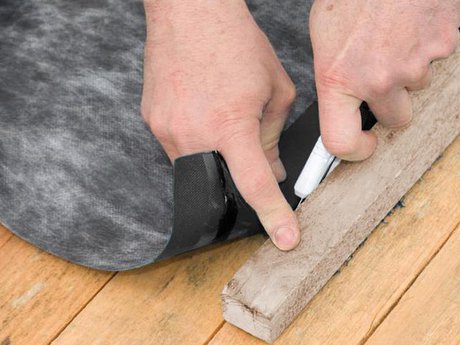
8b. End joint: Cut off the fibrous layer
Then cut off approx. 4-5 cm (1⅝″ - 2″) of the fibrous layer. Install the lower membrane and staple it in place in the overlap area.
8b. End joint: Cut off the fibrous layer
Then cut off approx. 4-5 cm (1⅝″ - 2″) of the fibrous layer. Install the lower membrane and staple it in place in the overlap area.

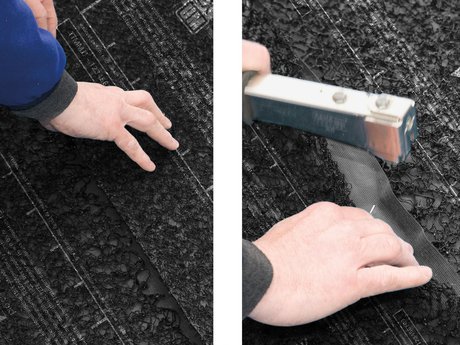
9. End joint: Align the membrane and fasten it in place
Remove 4-5 cm (1⅝″ - 2″) of fibrous layer from the upper membrane. Align the upper membrane on the lower membrane, install in an overlapping manner and staple in place. The overlap width is determined by the area free of fibrous layer on the lower membrane (4-5 cm).

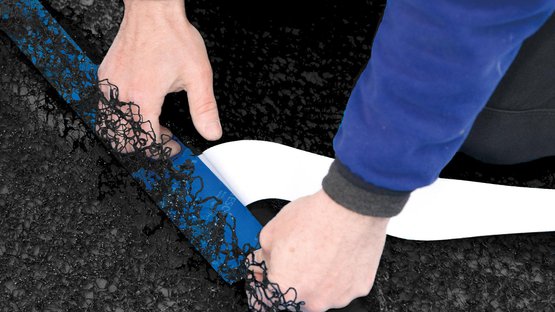
10. Stick the end joint
Lift up the loosened areas of the 3D fibrous layer and gradually stick the membranes using TESCON VANA system adhesive tape. Centre the adhesive tape and press down on it firmly.
10. Stick the end joint
Lift up the loosened areas of the 3D fibrous layer and gradually stick the membranes using TESCON VANA system adhesive tape. Centre the adhesive tape and press down on it firmly.

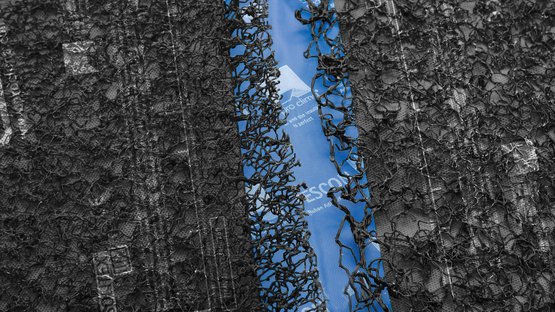
11. Stick the end joint
This can be done in an efficient manner while applying a constant, high pressure by using the PRESSFIX application tool.
11. Stick the end joint
This can be done in an efficient manner while applying a constant, high pressure by using the PRESSFIX application tool.

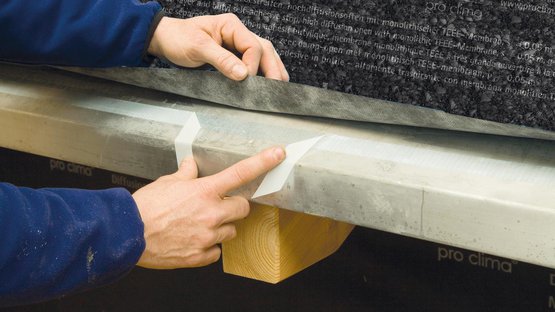
12. Sealing at eaves
Stick the membrane at the eave with DUPLEX double-sided adhesive tape or single-sided TESCON VANA system adhesive tape, ensuring that there are no folds or creases.
12. Sealing at eaves
Stick the membrane at the eave with DUPLEX double-sided adhesive tape or single-sided TESCON VANA system adhesive tape, ensuring that there are no folds or creases.

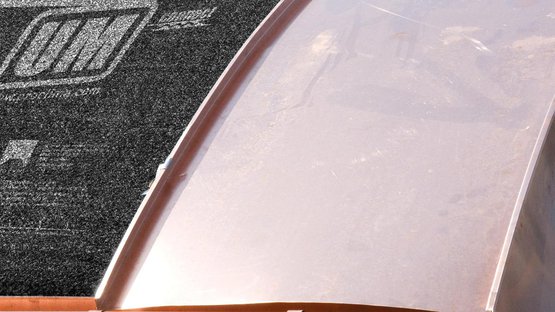
13. Install metal sheets
Once the membranes have been stuck to each other and to all adjacent building structures, the metal sheet covering can then be installed. Roofing clips and other point-shaped penetrations can be sealed using TESCON NAIDECK nail sealing tape.
13. Install metal sheets
Once the membranes have been stuck to each other and to all adjacent building structures, the metal sheet covering can then be installed. Roofing clips and other point-shaped penetrations can be sealed using TESCON NAIDECK nail sealing tape.
