Installation steps


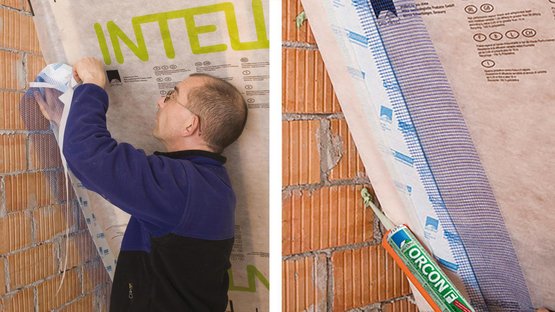
1. First stick the tape to the membrane
Clean the subsurface, brush off if necessary. Stick the CONTEGA PV plaster-sealing tape with self-adhesive strips onto the membrane, and rub firmly to secure the adhesive bond (PRESSFIX). Fold back the tape and apply ORCON F to the wall at discrete points to secure the layer of CONTEGA PV (e ~10-20 cm / 4″ - 8″). Leave slack for expansion so as to allow for relative motion between components. If necessary, cut back the vapour control membrane so that the CONTEGA fleece can be plastered in place.
Tip:
Nails can be driven into the stone on soft subsurfaces such as aerated concrete, pumice or cavity blocks; they can be driven into the masonry joints in the case of hard stone.


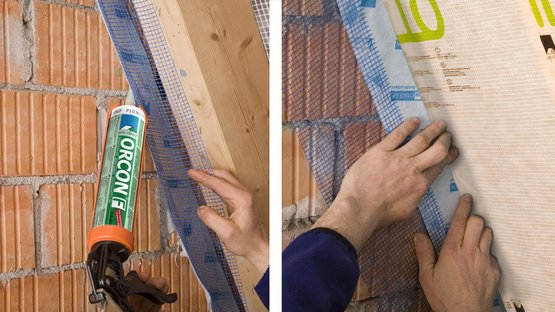
2. Alternative: First stick the tape to the wall
The self-adhesive strip of the adhesive sealant tape should be facing into the room. Apply adhesive to the wall at discrete points to secure the layer. Guide the vapour control into position. Remove the release film from CONTEGA PV and stick the vapour control membrane to the tape. Rub firmly using the PRESSFIX application tool to secure the adhesive bond. Ensure that there is sufficient resistance pressure, and allow slack for expansion.


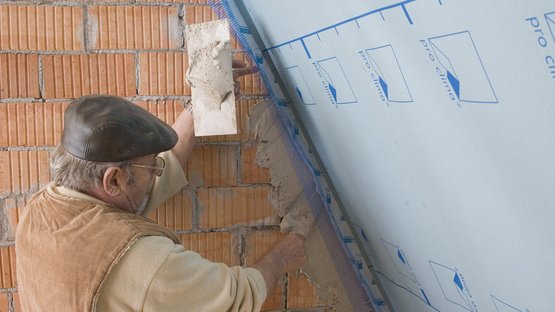
3. Plaster the fleece in place
The interior plasterer can then embed CONTEGA PV into the middle of the layer of plaster: First plaster behind the tape, then apply the tape to the wet plasterwork and plaster over it fully. To achieve effective airtight joints, the plaster must cover over at least 1 cm (⅜″) of the white, airtight fleece. Gypsum plasters have very good adhesion on the CONTEGA PV fleece. Use a bonding bridge (reinforcing mortar) in the case of calciferous plaster.

