Installation steps

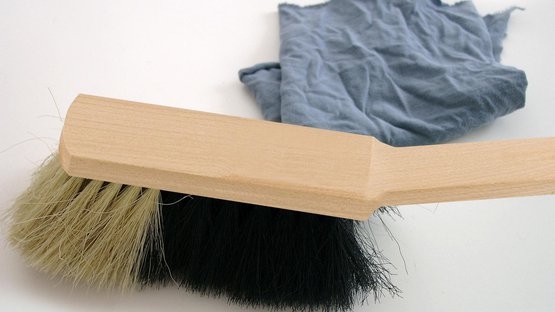
1. Preparation
Subsurfaces must have sufficient stability and be dry, level and free of dust, silicone and grease.
Brush off all subsurfaces; if necessary, clean with a vacuum cleaner and wipe down. Carry out an adhesion test, if necessary.
1. Preparation
Subsurfaces must have sufficient stability and be dry, level and free of dust, silicone and grease.
Brush off all subsurfaces; if necessary, clean with a vacuum cleaner and wipe down. Carry out an adhesion test, if necessary.

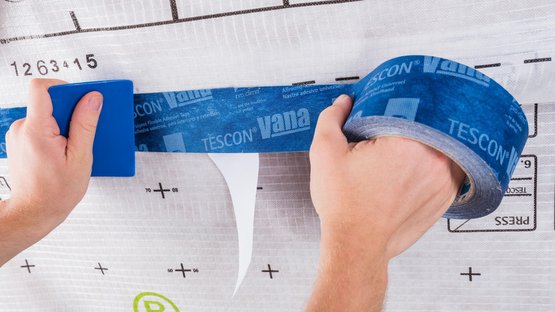
2. Taping membrane overlaps
Centre TESCON VANA on the membrane overlap and gradually stick it in place, ensuring that there are no folds or tension.
Rub the tape firmly to secure the adhesive bond.
PRESSFIX is easy to use and protects your hands.
Ensure that there is sufficient resistance pressure.
2. Taping membrane overlaps
Centre TESCON VANA on the membrane overlap and gradually stick it in place, ensuring that there are no folds or tension.
Rub the tape firmly to secure the adhesive bond.
PRESSFIX is easy to use and protects your hands.
Ensure that there is sufficient resistance pressure.

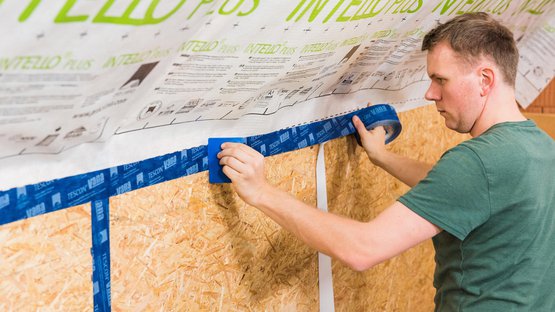
3. Joints to smooth, non-mineral subsurfaces
… (e.g. knee walls made of wood-based panels) should also be implemented using TESCON VANA.
Centre the tape and gradually stick it in place, ensuring that there are no folds or tension.
3. Joints to smooth, non-mineral subsurfaces
… (e.g. knee walls made of wood-based panels) should also be implemented using TESCON VANA.
Centre the tape and gradually stick it in place, ensuring that there are no folds or tension.

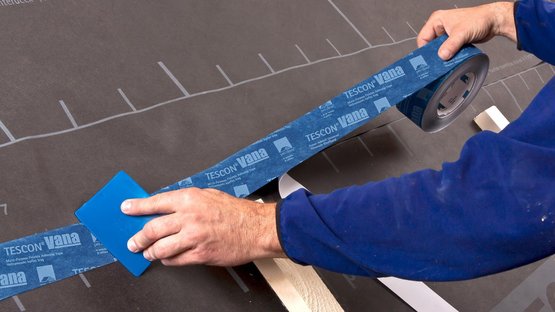
4. Taping membranes on the outside
Reliable adhesion in outdoor areas too thanks to water-resistant SOLID adhesive.
Centre the tape and stick in place, ensuring that there are no folds. Rub using the PRESSFIX tool to secure the adhesive bond. Ensure that there is sufficient resistance pressure.
4. Taping membranes on the outside
Reliable adhesion in outdoor areas too thanks to water-resistant SOLID adhesive.
Centre the tape and stick in place, ensuring that there are no folds. Rub using the PRESSFIX tool to secure the adhesive bond. Ensure that there is sufficient resistance pressure.

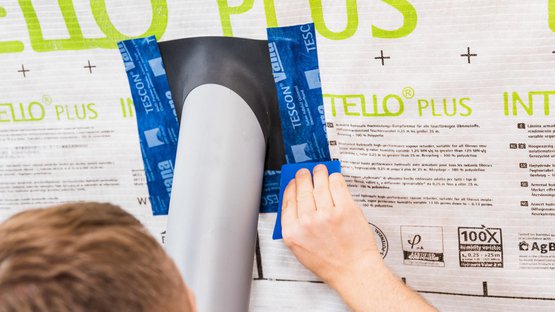
5. Sealing around pipes and cables
Place a KAFLEX or ROFLEX sealing grommet over the cable or pipe and stick the grommet to the membrane.
The cable grommets are self-adhesive.
Tape the pipe grommets to the membrane using TESCON VANA.
5. Sealing around pipes and cables
Place a KAFLEX or ROFLEX sealing grommet over the cable or pipe and stick the grommet to the membrane.
The cable grommets are self-adhesive.
Tape the pipe grommets to the membrane using TESCON VANA.

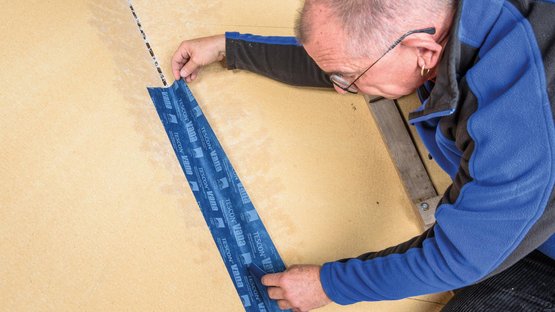
6. Apply primer to wood-fibre underlay panels
Apply TESCON PRIMER system primer.
Full ventilation is not necessary.
The tape can be positioned centrally over the butt joint and applied onto the wet primer, and then gradually stuck in place ensuring that there are no folds or creases.
Adhesive joints to protect against rain should be started at the bottom and should overlap in an interlocking pattern.

